AMS Spring Science Club 2017
Week 1: Static Electricity Experiments
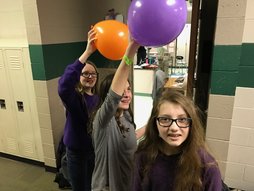
For our first activity we learned how atoms are made up of three kinds of particles: protons and neutrons (in the nucleus) and electrons (orbiting around the outside of the atom). The protons and neutrons can only be disturbed by a nuclear reaction (like an atom bomb). We decided to save that for another day; instead, we explored ways to "rip off" the electrons from atoms- such as by using a Van de Graaf Generator, or by rubbing a balloon on our head.
Using the electrostatic repulsion of the "charged" balloon, we were able to levitate some small objects made from cut up grocery bags.
Using the electrostatic repulsion of the "charged" balloon, we were able to levitate some small objects made from cut up grocery bags.
Week 2: Dry Ice Investigations
Students watched some demonstrations with dry ice, and then carried out several investigations on their own. Dry ice is simply carbon dioxide gas that has been condensed into a solid form. As a solid this is -110° F. When dry ice is exposed to room temperature conditions, it doesn't "melt" to become a liquid. Instead, it "sublimates", turning directly from solid to gas.
Week 3: Electricity, Magnets and Motors
Students learned a little history about the beginnings of the science of electricity. We learned that Hans Oersted and Michael Faraday first made the connection between electricity and magnetism, and Faraday figured out how to use this connection to make an electromagnetic motor that could be turned on and off. This was a huge breakthrough, because it proved that electricity is not just a "science trick" for giving people a shock; you can actually USE electricity to do work, or to make something move.
Using these ideas, students constructed a very simple motor using a D battery, some copper wire, and a magnet. In the video below you can see some students testing electromagnetism to pick up paperclips with a nail, and then building and testing motors.
Using these ideas, students constructed a very simple motor using a D battery, some copper wire, and a magnet. In the video below you can see some students testing electromagnetism to pick up paperclips with a nail, and then building and testing motors.
Week 4: Electrolysis (Breaking Water Molecules)
Have you ever broken anything REALLY old? Students shared some personal examples from their rich experience with destroying valuable property (usually items belonging to parents or grandparents).
Our task in today's class was to "break" some items that could be 5 BILLION years old: namely water molecules. (Most water molecules formed in the same cloud of star dust that condensed to create our Solar System.)
We used the process of electrolysis to break water molecules by running a weak electric current between two graphite electrodes in a container of water. Students used test tubes to capture the resulting hydrogen and oxygen gas. (Here is a youtube link to my directions.) By holding a hydrogen-filled test tube over a candle flame, we were able to observe a small explosion as the hydrogen recombined with oxygen in the atmosphere . . . creating BRAND NEW WATER!
As students discovered from watching a video of the explosion of the Hindenburg dirigible, hydrogen is very flammable. Fortunately our test tubes made a slightly smaller fireball!
Week 5: Collecting DNA
Students learned a few of the basics about how our cells contain copies an amazing molecule called Deoxyribonucleic Acid (DNA), which contains the directions for making our bodies. Each cell contains enough DNA to make a strand about 6 feet long (although too thin to see with the naked eye). We watched a couple short videos explaining how DNA is copied (transcribed) in order to make duplicates every time the body creates new cells. This amazing process involves mind-blowing "molecular machines" that operate constantly inside our cells. Scroll down to see these videos.
Students collected cells from their mouths, then used some chemicals to . . .
1. Break open the cells and nuclei
2. Dissolve the protein "spools" on which the DNA strands are wound up
3. Cause the DNA strands to clump together ("precipitate") so that they are visible.
Students then transferred their DNA into containers to keep as a souvenir.
Week 6: Airsurfing part 1- Tumblewings and Spinny Bugs
We have begun a 3-week series on Air Surfing (also called "Walk-along Gliders"). This is a way to make almost-magical gliders that ride like a surfer on a wave of air. We will work our way from easy projects up to more difficult.
In the beginning stages, students walk behind the glider with a large flat poster board to deflect air up toward the glider. When we reach more advance levels, some students will fly their gliders using air deflected only from their hands- and perhaps even using air deflected from their forehead!
For more information about Walk-along Gliders and many other fun and easy-to-make science toys, check out one of my very favorite websites on the internet, www.sciencetoymaker.org . Former teacher Slater Harrison has put together a wonderful collection of activities, mostly using nothing but recyclable materials.
Below is a video showing our beginning efforts at Air Surfing. There is also a short video I made showing how simple it can be to make a "Tumblewing" glider from a sheet of phone-book paper.
Week 7: Airsurfing Part 2- The "Mosquito"
Continuing our 3-week Airsurfing adventure (see www.sciencetoymaker.org) , we first flew some pre-made "Mosquitoes", which are extremely thin styrofoam sheets cut in the shape of hang gliders. Most students found these much easier to fly than last week's projects.
Students then followed directions to build their own Mosquito, including forming the proper "camber" (downward curve) of the leading edge, the upward curve of the tail flaps, and a slight "dihedral" (V-shape).
Here are some views of the results:
Students then followed directions to build their own Mosquito, including forming the proper "camber" (downward curve) of the leading edge, the upward curve of the tail flaps, and a slight "dihedral" (V-shape).
Here are some views of the results:
Week 8: Airsurfing Part 3- "Mama Bug"
We completed our 3-week air surfing project by building and flying the giant Mama Bug gliders (see www.sciencetoymaker.org for directions). This was quite challenging. Although these gliders have tremendous flying ability, they are extremely sensitive to unwanted air currents; and the hallways after school are not exactly calm and quiet, especially with 25 Science Club students all trying to fly at once, and other students and teachers walking back and forth! Still, as you can see in the video below, some students were able to fly their Mama Bug quite successfully. We even tried a little "aerial combat" in the gym, trying to knock each others' gliders out of the sky using only puffs of air. (Secret of success: fly your glider about 9 feet above the ground, where little 6th graders can't reach!)
Week 9: Dragonfly Helicopters
Week 10: Stomp Rockets
Another exciting and inexpensive project from www.sciencetoymaker.org. Each student built two rockets, using paper from discarded magazines. Next they built rocket launchers using PVC pipe and an empty 2-liter bottle. Tuesday's club wasn't able to go outside due to nasty weather (although there was a bit of stomp rocket combat in the school gym!) Monday's club had beautiful weather, and as the video below shows, rockets were raining down in our courtyard!!
|
If you would like to make your own rockets at home, see the directions in the "how-to" video below, or on sciencetoymaker.org. In order to make your own rocket fins, download and print the pattern at right. You can trace these fins onto thin cardboard (such as from a cereal or cracker box) before cutting them out.
|
| ||
Week 11: Water Rockets
In week 11 the students built launchers for water rockets, based on directions at the Sciencetoymaker website. The rocket is a 2-liter soda bottle, about half filled with water. By pumping air into the launcher, the bottle becomes pressurized, and takes off by spraying a high-speed stream of water out the bottom. As Isaac Newton explained in his 3 Laws of Motion, for every action there is an equal and opposite reaction. Therefore, the more water that leaves the bottle (and the faster it leaves), the higher the rocket will go.
But our students decided that whatever Isaac Newton may say, nobody cares how high these rockets go; on a hot almost-summer day, it's all about getting wet! (Unfortunately, that was NOT the weather we had in the video below. It was cloudy and 53°!) Still, a good (and wet) time was had by all!
But our students decided that whatever Isaac Newton may say, nobody cares how high these rockets go; on a hot almost-summer day, it's all about getting wet! (Unfortunately, that was NOT the weather we had in the video below. It was cloudy and 53°!) Still, a good (and wet) time was had by all!
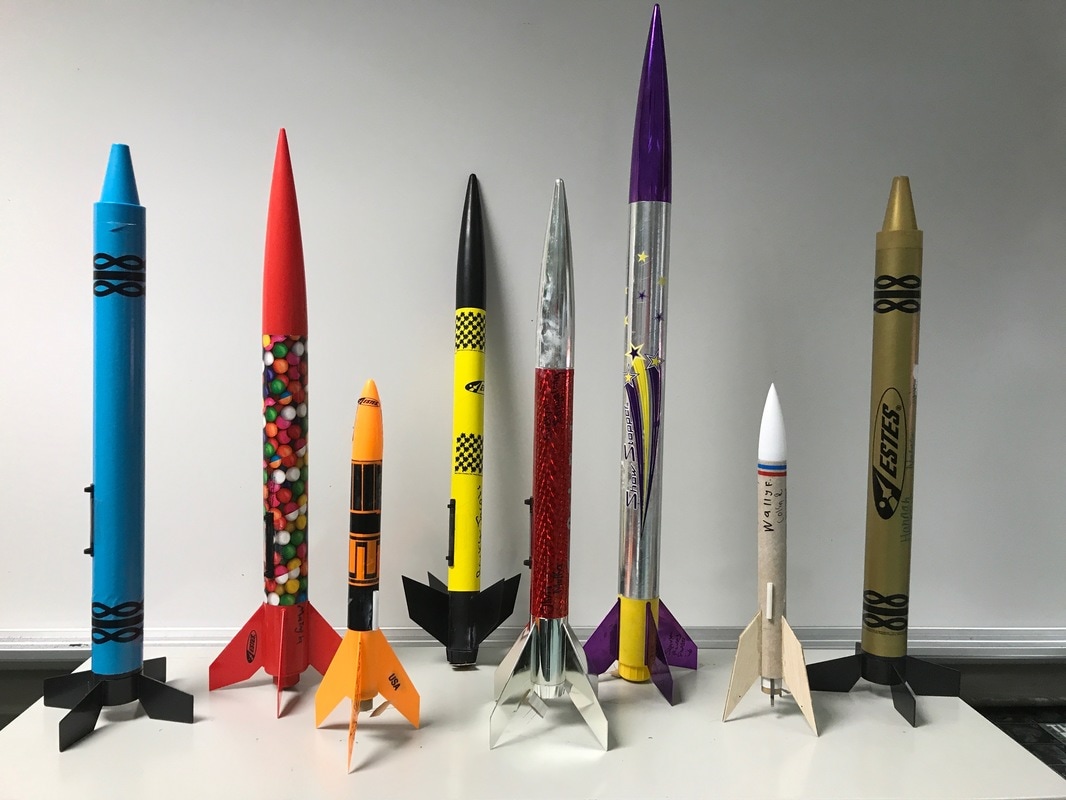
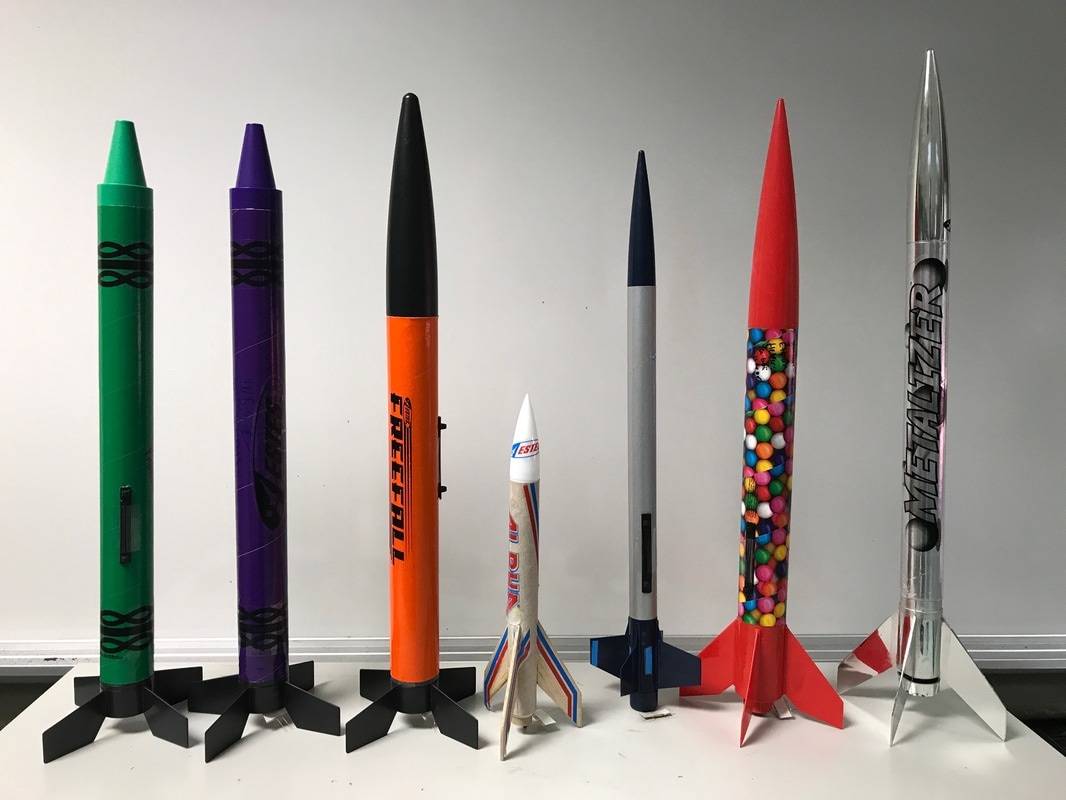
Week 12: Building Model Rockets
Students worked in teams to build a variety of model rockets. This was a valuable exercise in following written directions. Here is a good way to approach this kind of project:
1. Remove pieces from package, match them to the diagram so you know what each piece is called.
2. Scan the directions to get an overview of the sequence of steps.
3. Make sure you have the required tools and types of glue.
4. For each step, try fitting pieces WITHOUT glue before you do it WITH glue. Once glued, mistakes are hard to fix!
|
|
Week 13: Launching Model Rockets
We had lots of fun launching rockets. Nobody got hurt; no airplanes were shot down; and only a few rockets were lost or destroyed. Good job to all the Science Club rocketeers!
